< How to Create a Handmade Christmas Greeting Card in WatercolorJoin
Supplies
Watercolor paper, cut to 4.5 x 11 inches. Folded size: 4.25 x 5 inches
Watercolor paints and brushes (View info on brushes)
Paper towels
Pencil
Optional: a hair dryer to speed up the work
The size of this card is based on the size of the envelope, which is an invitation envelope size, 24 lb. Bright White Wove (also comes in color). Available at local stationery supply stores.
Drawing
Tape your card to a board using masking tape. Tape two sides and the bottom leaving an equal margin under the tape (1/4”). Tape across the fold leaving the same amount of margin. Leaving this white border around the image frames your painting.
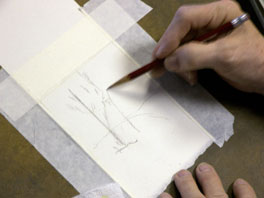
Draw a preliminary sketch on your paper. Be sure to make it dark enough to able to follow as you paint. If you are an inexperienced artist, choose a subject which is not too detailed until you are more experienced.
Be sure to have a thickly folded paper towel to wipe brushes or clean up excess water.
Painting
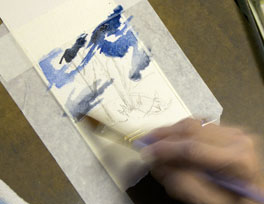
I do not wet my card paper because it is so small. I like to use flat brushes with sharp edges for this type of project. I always use quality paints as these to have more life.
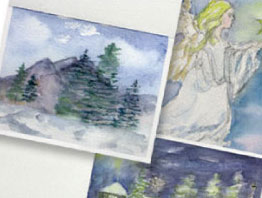
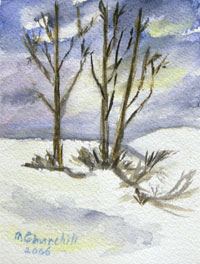
As a rule, I keep the colors simple (red, blue and yellow) and mix to get the colors I need. However, additional colors can enhance the image. For example, Payne’s Grey is useful for shadows where the subject is white. I use Burnt Sienna for wood objects or for dirt. The sky in this image is made with Cerulean Blue and Cobalt Blue.
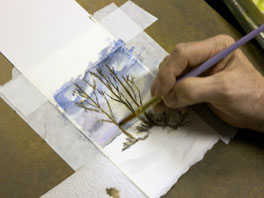
Remember, things reflect colors from and onto each other. I often load multiple colors onto my brush for a soft, blended effect.
Last Note
At this point, you might want to write a greeting on the inside of your card. This can be created with the sharp-edged small brushes that you painted with, calligraphy pens, or even a rubber stamp.
If you prefer to use a lettering brush, we recommend Plaid brushes.
To fold your card, use a stylus or the back of your scissors and a ruler to make a score line, then fold along the line.
This free lesson is provided by fellow artist and friend, Mary Churchill